How to Create a Property and Submit a Job on the RentSafe dashboard
How to Create a Property and Submit a Job on the RentSafe dashboard
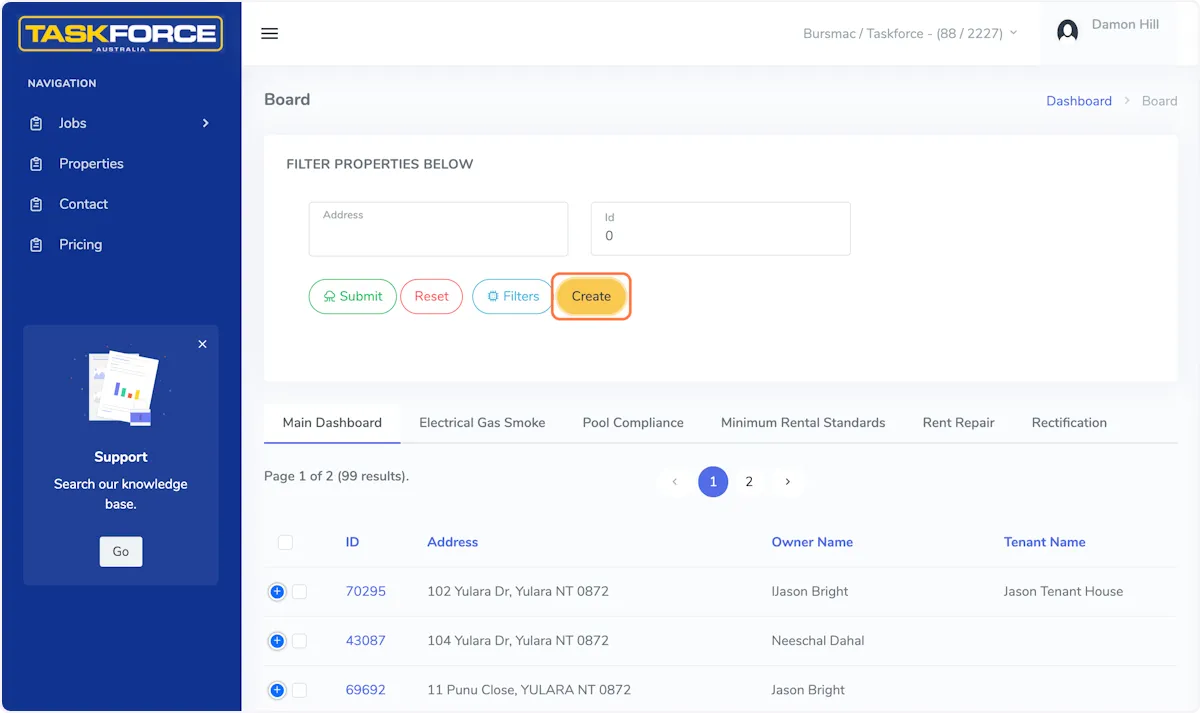
Click on the 'Properties' tile on the landing page of your dashboard. Click on the 'Create' button under the address box.
2. The 'Create' Property section
The first tab is where you will start to type the property address. Select the correct address from the auto populated dropdown that will appear when you have started typing.

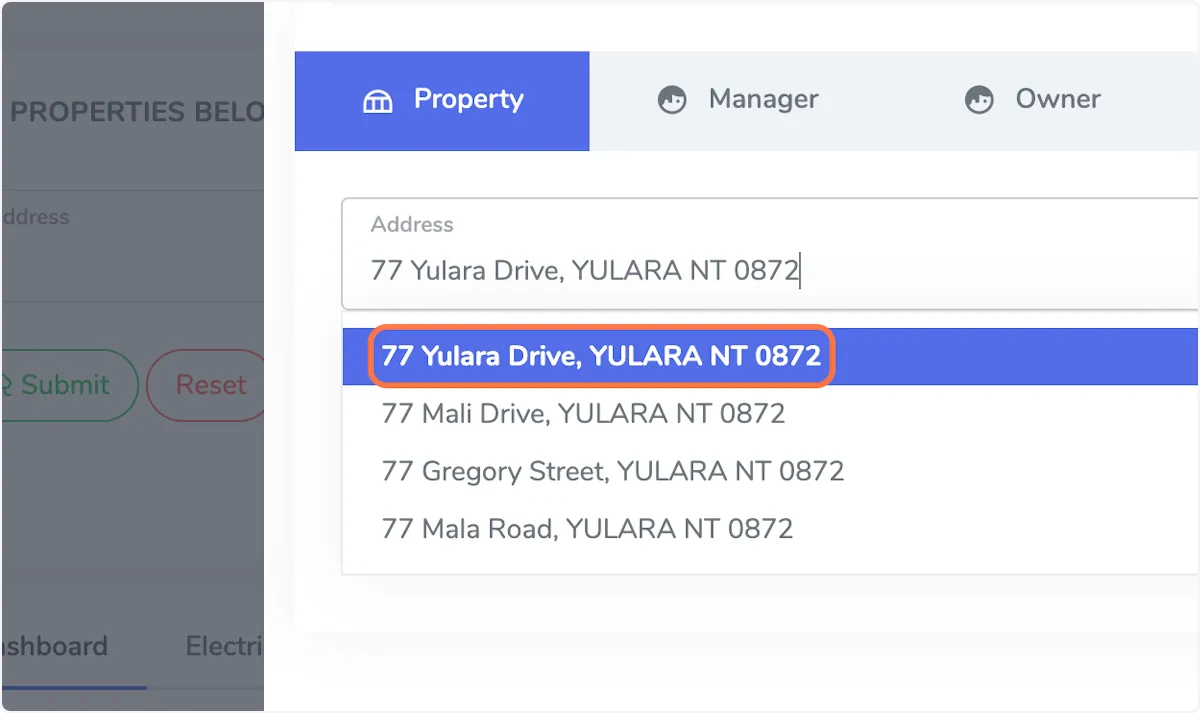
3. Address finder
Select the correct address from the auto populated dropdown that will appear when you have started typing.
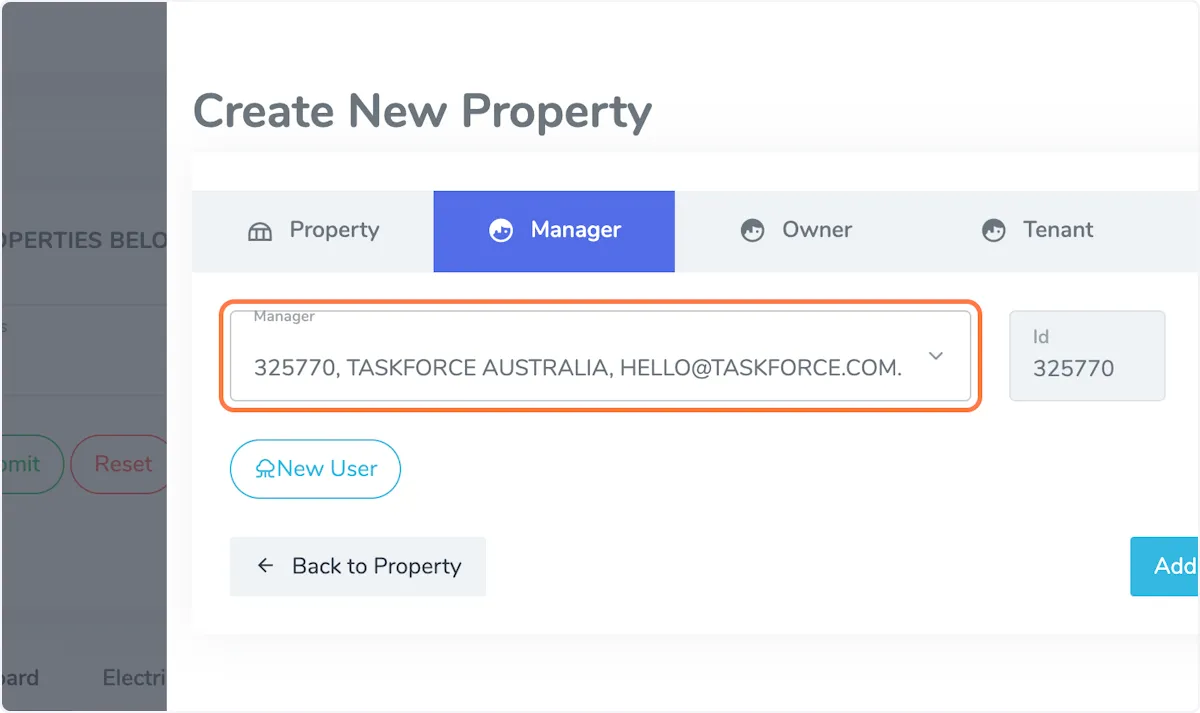
4. Click on the Manager tab
First click on the dropdown menu and see if the property managers name appears, if so select that person. If the property manager is not in the system yet, select 'New User' and enter their details.
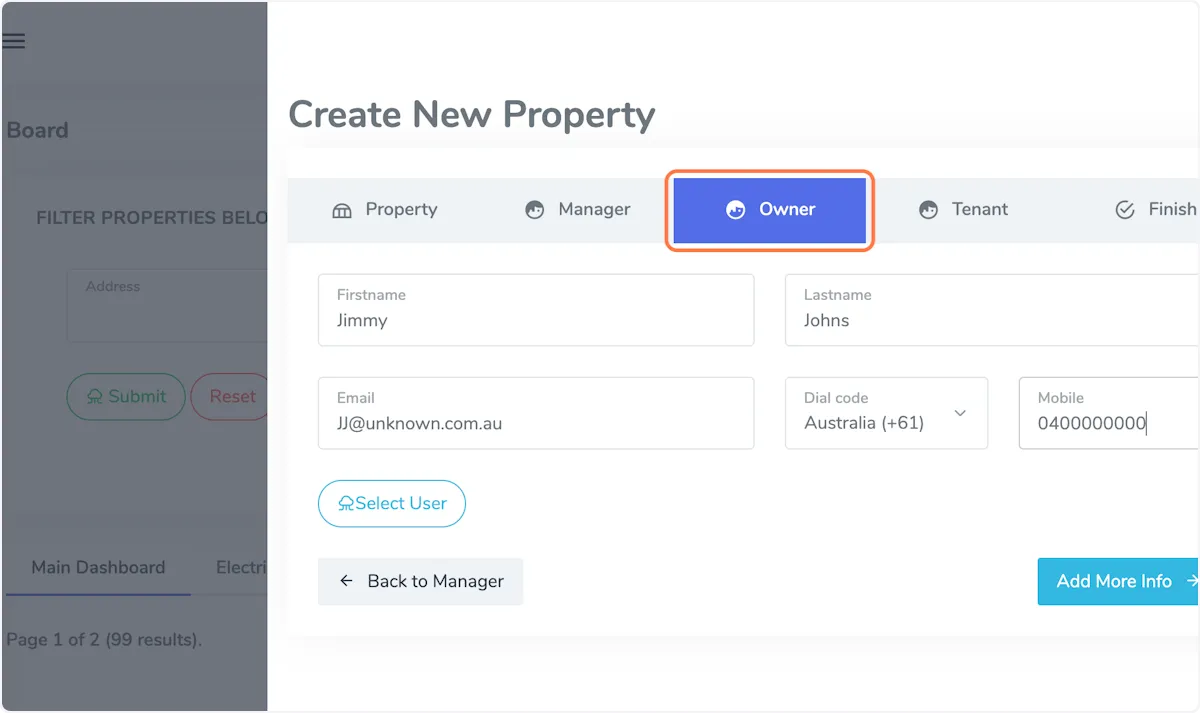
5. Click on Owner tab
Enter the details of the property owner in this section.
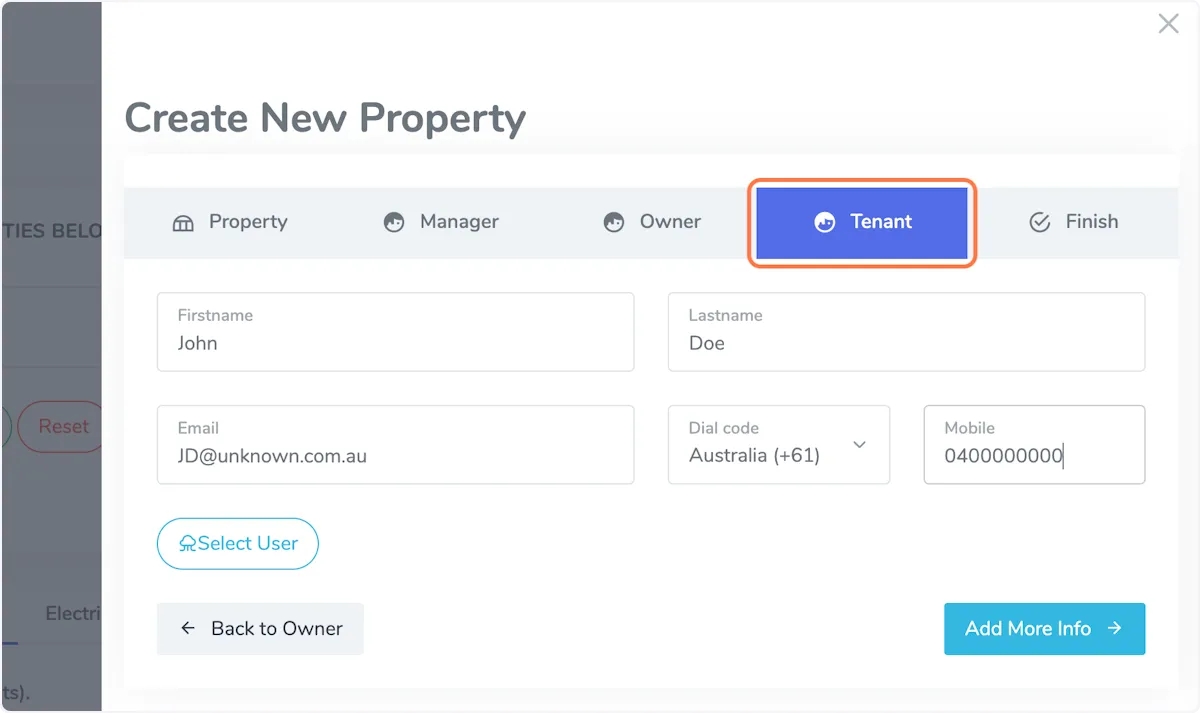
6. Click on Tenant tab
Enter the details of the tenant in this section
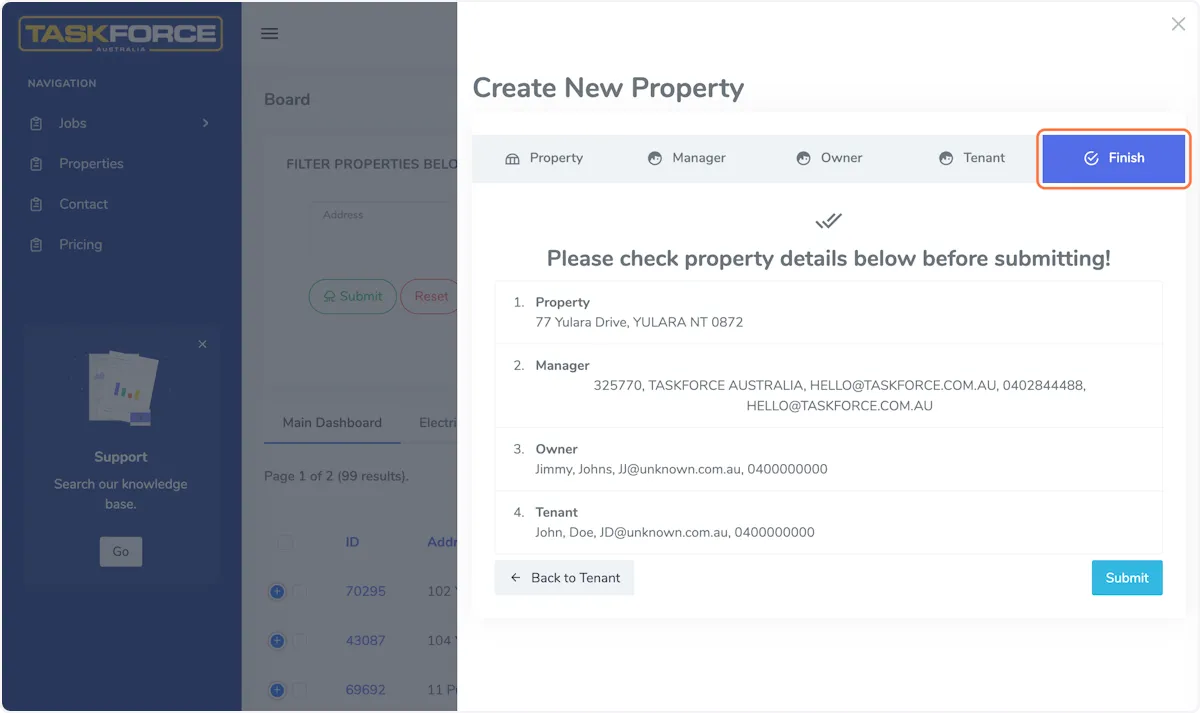
7. Click on the Finish tab
Check that all the details you have entered are correct then click 'Submit'
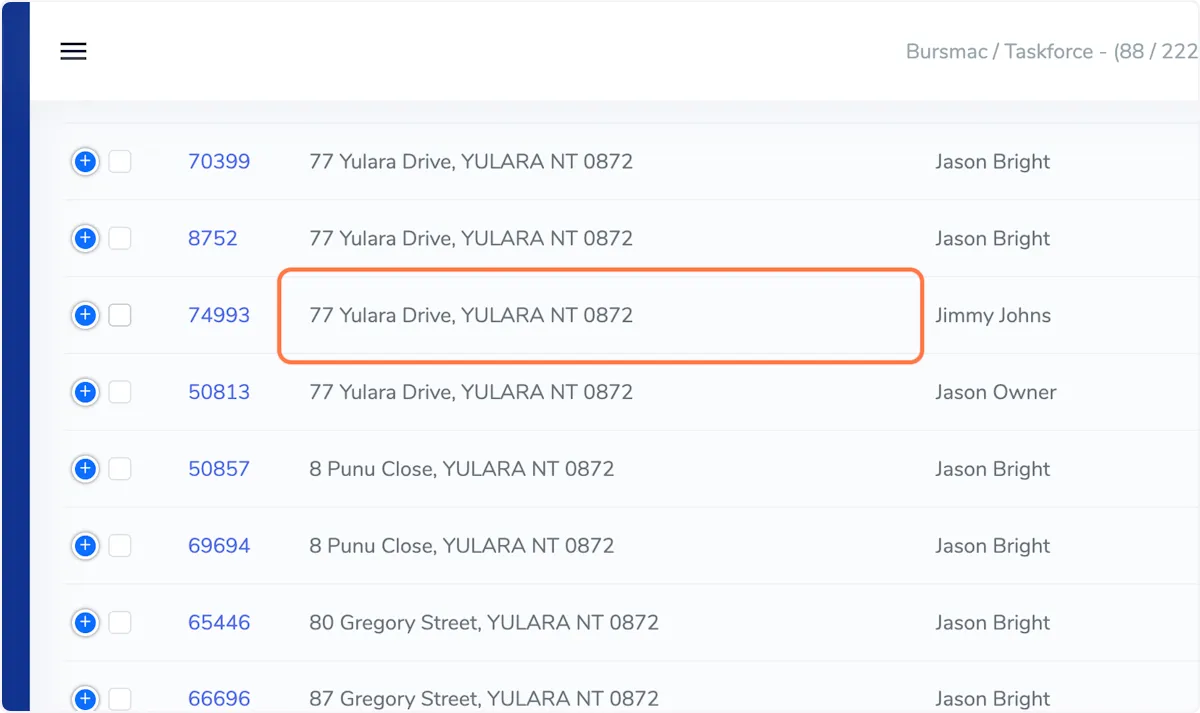
8. Find the address
If you go to the 'Properties' tab you will find the new property address that you have created.
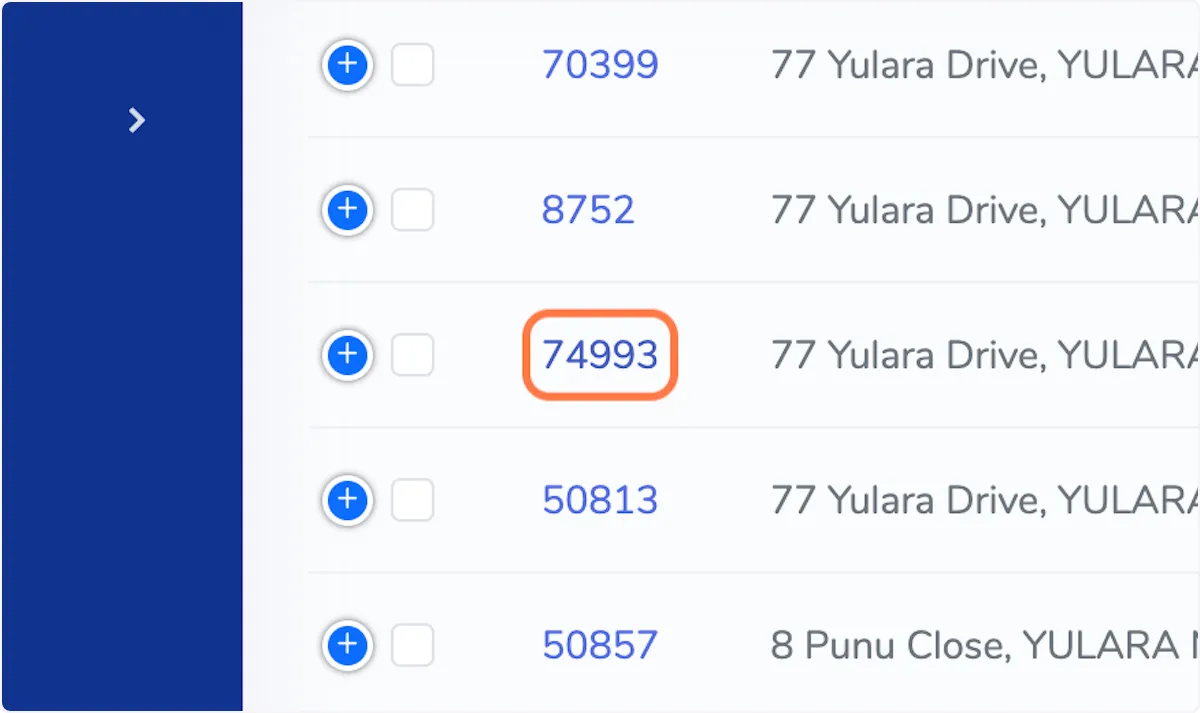
9. Click on the Property ID
The 'Property ID' is the number to the left of the property address, click on that number.
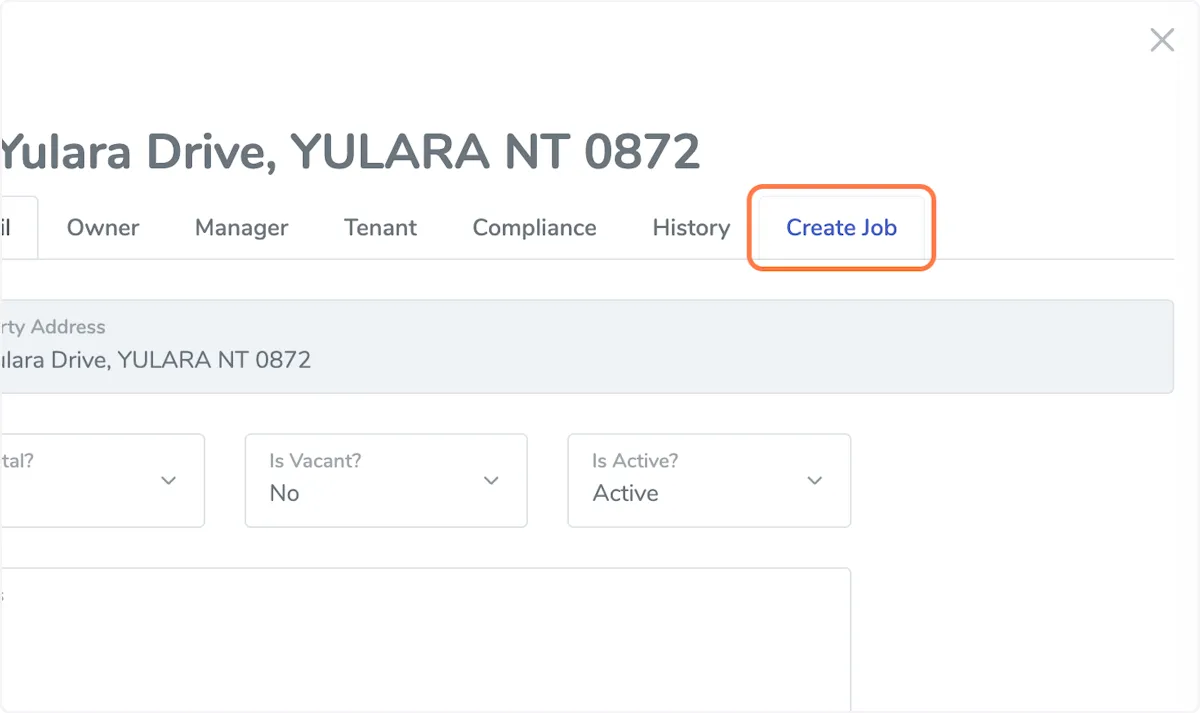
10. Property details
A slide will appear from the right of screen with multiple tabs. If you would like to create a new job for this property click on the 'Create Job' tab.
11. Creating a job
You will see a drop down menu, select the correct service from the options that you would like done.
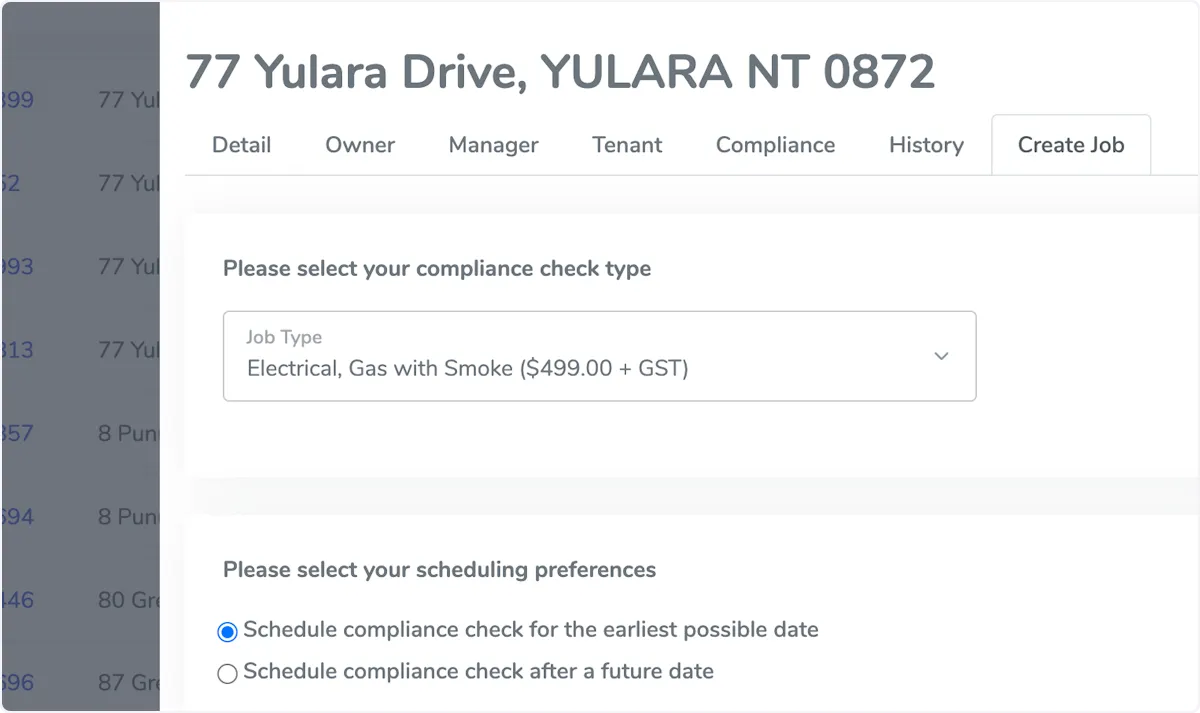
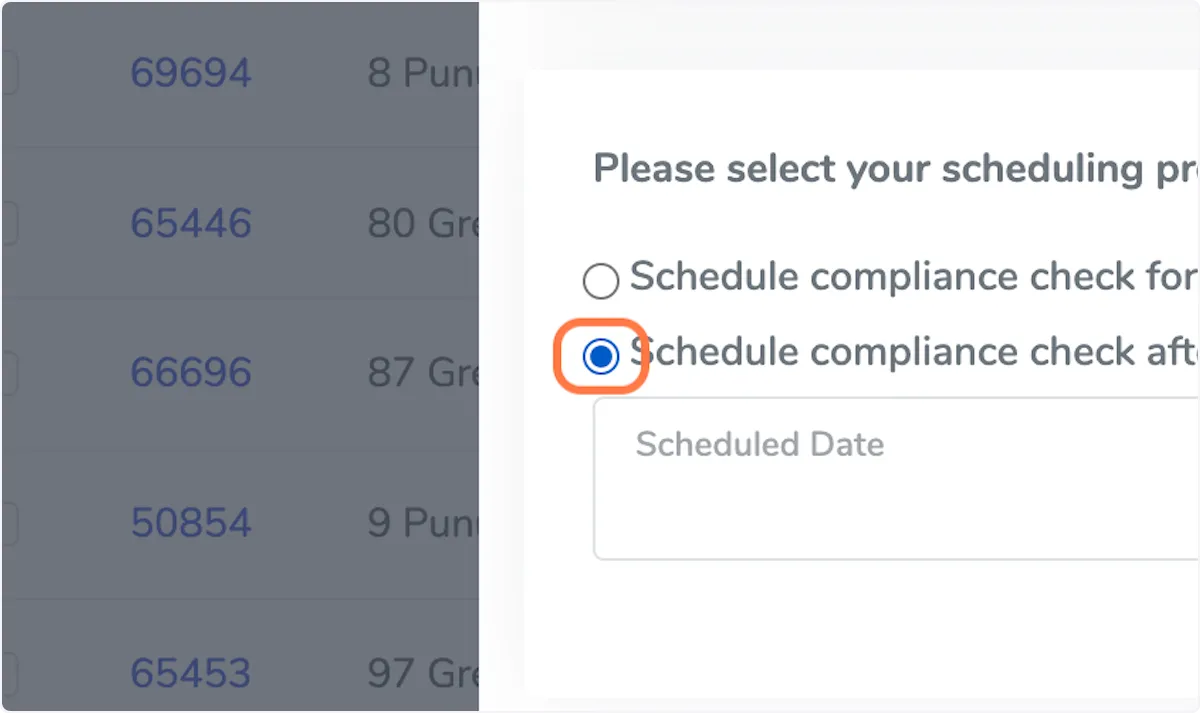
12. Book for earliest availability
The blue button is defaulted to 'Schedule for earliest possible opportunity', this will send the tenant a calendar to book a date as soon as you press the 'Create Job' button.

13. Future date a job
By changing the setting you can setup a job to be at a later date. The job will be placed in a cue, 4 weeks prior to the date you scheduled it will send a message to the tenant asking them to select a booking date.